As an Amazon Associate we earn from qualifying purchases.
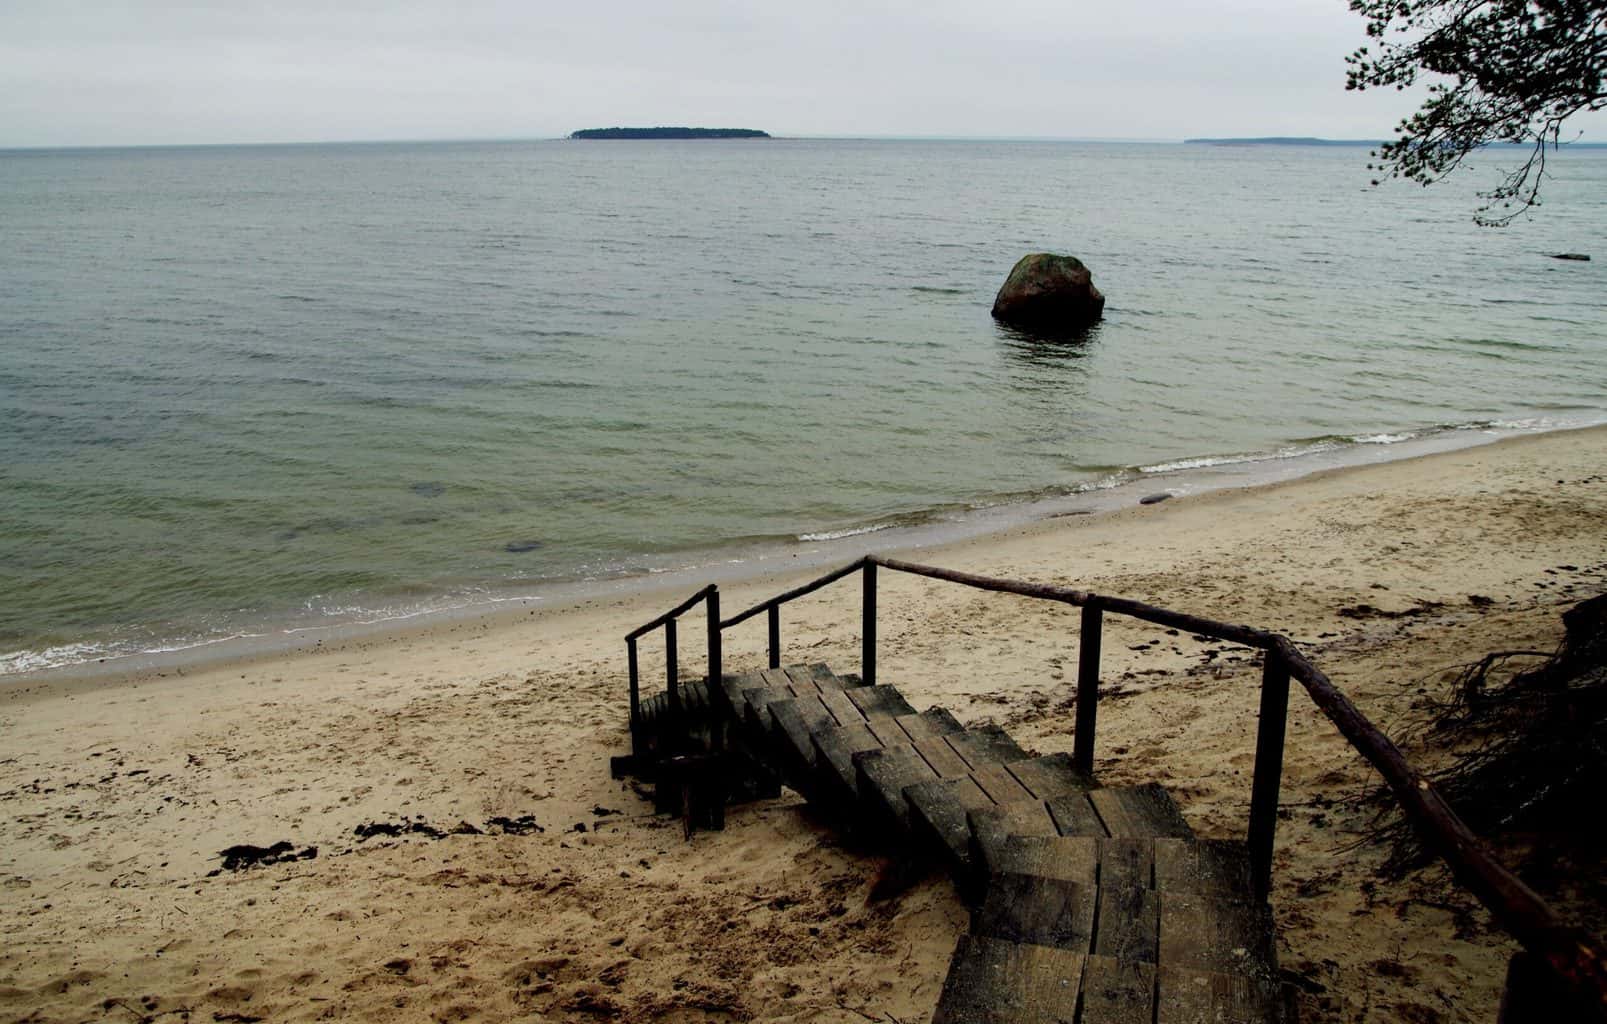
You probably have seen wooden steps at the front yard of your neighborhood. Those freestanding wooden steps enhance the beauty of the place where it is placed. It would be nice if you could learn how to build free standing wooden steps yourself.
How to Build Free Standing Wooden Steps – The Easiest Way!
The thing is, making these wooden stairs isn’t that difficult. So, if you are thinking about getting one for your house, know that you don’t need to pay a woodworker for that.
If you can do some math, prepare a plan and have a little knowledge of woodworking, or at least manage how to do basic woodworking stuff, you are good to go all by your own.
So, let’s start putting things together.
Don’t freak out if you don’t haven’t been involved in any woodworking project before. Building wooden stairs isn’t rocket science. Just follow this step by step process.
Things You Need
The first thing to do is to get all the necessary tools and supplies. You will need –
- Hammer
- Hand saw
- 16d nails
- Tape measure
- Pencil
- Farming square
You might need the following items too –
- Nail gun
- Jigsaw
- Circular saw
- Chop saw
- String line
- Board bender
Note: Another necessary item that you must need for build a wooden steps, that is wood screws. That’s why I wrote an article about Top 10 Wood Screws for woodworking that you can check out.
Oops! Did I forget to tell you about wood? How on earth are you about to build wooden steps without wood? Therefore, go and get some wood. How many pieces of wood you need will depend on the length and width of the steps you want to build.
In this guide, I would prefer to get at least six pieces of wood. Make sure the wooden pieces have no crack, and all the pieces are perfect and straight. The recommended dimensions would be 2x4x16, 2x12x16, and 4x4x16.
Calculations and Measurements
Woodworking requires calculations and measurements before cutting wooden pieces. First, you need to determine the height of the stairs, from leading part to all the way down the ground. Now find the height of each step by dividing the value of total height by 7.
For instance, if the total height is 84, then divide it by 7; you will get 12 steps. Note that I pointed out the average stairs to be 7 inches. Depending on your demand, you can increase or decrease the amount.
The regular tread depth would be 10.5 inches. If you have something different like 7¼ and 10 5/8, that is fine.
For strength, you can build stairs with three stringers. And each of the stringers needs to be made from one-piece measuring 2×12. On the other hand, the width of the outside stringers would be 36 inches. Therefore, you will need two 2x36x36 for applying as a header and footer.
The legs would require a 2×6 piece that will keep them uniform and spread out. Make the steps out of 2×12 pieces. It’s important to give them space to overhand of an inch on both sides of the stringers.
For handrails, cut the 2×6 piece for baluster at around 48 inches and keep it as it is until it needs further accurate cutting.
When you are about to cut the legs, remember the Pythagorean theorem for the right height considering the length of the staircase and its diagonal height. Keep in mind, a2+b2 = c2.
Was it difficult to understand? If yes, then read this section again. When you get it, proceed to the next section.
Setting Things Up and Layout
Calculating and measuring was the toughest part of this article. The procedures from now on will be smooth. After finishing with the measurement and stuff, it is time for you to set up the framing square.
If you can somehow manage the stair gauges, it will make things a lot easy for you. What they do is, they lock into the place and eliminate errors of the layout of the stringers.
But if you don’t have one, have someone and ask him to hold the square. It will make your marking task easy. Now let’s move on to lay out the stringers.
Place the square on seven sides at its left and 10.5 at its right side and place it on 2×12 as far to its left side as possible so that you can get it when two measurements are still on the board and marked outside of the square.
Now, proceed the mark from the 7-inch side to rest of the way, make sure the mark is straight — this top step you need to cut out later.
Now you need to take the square and line up the side with the 7 inches with the 10.5 inches mark you put previously and mark it one more time. Repeat this until you get the number of steps you want.
You can do the same with the bottom step. The only exception is to carry the tread length across instead upwards.
Now, there needs to be a 2×6 on both the top and the bottom as a header as well as a footer. Mark those line and cut them and make the level of the project at the ground.
The exact measurement for a 2×6 is 1.5×5.5. Therefore, mark that on both the top and bottom of step that runs all the way down the back of 2×6.
If you want to reduce the height out of the bottom part of the tread, it the time to do so. In that case, you will need to measure from its bottom up and then draw a line for 2×6 for cutting in.

Cutting
This part of the work is pretty much self-explanatory. Avoid cutting past the line when you will cut the treads using a circular saw. You might need to return with a jigsaw or a hand saw and cut out remaining little pieces. It can be quite annoying, but it will be necessary.
That’s why I told you before not to buy wood with cracks. When you are cutting the treads along with header and footer, another person can cut the stringers at the same time. Just make sure the measurements are accurate.
When you are finished with cutting out everything on the stringers, then start cutting the let in’s on the legs. If you have no idea what let in’s are, well it just refers the cut out of 4×4 of the width into the legs. The thickness is cut down to half for allowing two boards to set firmly into each other.
Putting Things Together
At this stage, you need to position both the header and footer on the outside of the stringers, and then place middle stringer at the center. Be sure to put three 16d nails in each one of them. It will be easy to do with upside down. But you need to be careful about breaking any pieces.
When you have all the stringers nailed, flip the stringers over and lay out all the treads that you previously cut. Note that, there’s an inch overhang on both sides of the stringers.
Make sure the whole side is nailed with right overhang and go to the other side as close as possible.
The board bender works great at this stage, but you shouldn’t push too hard, or you will end up breaking the stringers.
When you are finished nailing the outside stringers, now the middle stringer will be a lot easy to fasten.
Again, don’t forget there are three of them, and you need to use them into each stringer.
Now, it’s time to add the legs. You will need another person to hold the legs in place when you will nail them. Otherwise, you can use scrap blocks to nail them in place.
The legs will offer the free-standing wooden block with the right amount of support only if the legs are correctly attached. Place four in each the side of the leg that can touch the header and its stringer and two through the top of the tread.
When the legs are placed properly, make sure the let in’s face inside. It will enhance the beauty. Nail it in an exact way like the other legs and make sure it’s flush.
Now nail one side and fasten the other side from its opposite direction. Do it with four nails and two on each side.
Finalizing Wooden Steps
Now, make the bad boy stand up. Once you have it standing, do the cross bracing on its vertical legs at the back. It will further boost the overall strength of the staircase.
To do that, take a measuring tape and determine the length of the very wood you will need. Cut the wood down according to the value you get and nail it properly. Or, you can take a 2×4 and lay it against the points then mark and cut it accordingly.
For the handrails, you need to cut into the tread and then nail the baluster straight into the stringer.
How many balusters you need, will depend on the number of steps you made.
When you have the balusters on, then use a measuring tape to gauge and mark a proper height for the handrail. Make sure you measure the length from its top to the bottom baluster. You need to leave an additional two inches for overhang when you cut the wood out.
Then cut two 2×4 pieces to the appropriate length and nail them to one side. Make sure the nailing side is the outer side of the balusters.
And finally, there you have built your free-standing wooden steps. Now, mount it to the place you wanted.
Why Should You Build Free Standing Wooden Steps?
Hiring a carpenter to do the work for you can be costly. If you take your time to learn how to build one yourself, you can save money and get to have a fun activity at the same time.
Free standing wooden steps are easy to build as explained. They’re great for traveling with RV’s and trailers and may even be used in the backyard or for things like playhouses.
Free standing wooden steps help open up extra space or gaining access to an inaccessible area. Hence, it’s useful to have one at home. They can even be customized to last long.
Uncommon Words You May Encounter When Building Free Standing Wooden Steps
There might be some confusing words that you come across when building your first free standing wooden steps especially if you don’t have any experience with carpentry.
It’s important that you know what these words mean since they are important parts for building free standing wooden steps.
Stringer
Stringer refers to the support beam for the stairs. These are the two pieces of wood you find on each side of the stairs. They are used for structural support and keep the stairs from falling since they’re attached to the stringers.
Rise
Rise refers to the height of each step. Rise is often used for calculations such as how many steps are needed or calculated for the rise itself.
For example, the height of the deck you’re planning to make free standing wooden steps is 48 inches. You plan to make 4 wooden steps. Therefore, you divide the height of the deck (48 inches) with the number of wooden steps (4) which equals to 12 inches and that’s your rise.
Rise is helpful for maintaining equal and balanced height for each of your stairs so it won’t affect the structural integrity.
Run
Run refers to how wide the steps are. Too narrow steps can feel slippery and may even cause slipping. Narrow steps generally have a short run.
Runs are often mentioned when wooden steps are slippery. Generally, you won’t encounter problems with runs when making free standing wooden steps.
Frequently Asked Questions
What’s the Best Angle for Wooden Steps?
Angling your wooden steps is essential. The angle of your wooden steps predicts how easy the steps would be for climbing up and down. The minimum angle for a comfortable staircase is 30 degrees.
You can have your wooden steps angled between 30 to 50 degrees and it would still be comfortable for climbing. However, the angle can change depending on the height and width of your staircase.
What Type of Wood Is Best for Outdoor Steps?
Most carpenters prefer using one of the three from redwood, cedar, and yellow pine for making outdoor steps. These types of wood are resistant to damage especially during bad weather.
They are also easy to work with and are generally durable so they last a long time. If maintained properly, outdoor steps made from these types of wood can last a lifetime. Although you may have to do some wood treatment every now and then. Cedar and redwood can go untreated and will still last a long time.
Yellow pine is considered a universal type of wood for outdoor constructions. Compared to other types of wood, it is very dense and can endure the woodworking process and harsh weather and climate conditions. It’s the best option to pick if you want durable outdoor steps that don’t break or flake easily.
Can You Make Non-Slip Wooden Steps?
Slippery steps are a common problem when making wooden steps. It is a serious matter since a fall can cause serious injuries especially when you slip and fall on the wooden steps.
You can apply a non-skid adhesive strip to each of the stairs. Each step requires a strip near the edge.
You can also use floor paint coatings that have some non-slip features or grit in it. Paint the whole step and that includes underneath, the top, and the end of every step.
How to Maintain Free Standing Wooden Steps
For protecting your free standing wooden steps, you can apply a protective coating like varnish or wood oil. They are considered the most popular option among wooden steps owners.
Varnish is great for protecting your surface against weather and prolonging its lifespan. You only need a couple of coats from it to be effective.
Alternatively, wood oil is another excellent option. Wood oil is soaked up by the pores of the wood. This prevents the wood from absorbing water which can result in rotting and fungus buildup. Wood oil also makes the steps strong and sturdy.
Can You Build Steps With 2×4?
You can use 2×4 wood planks as stringers. However, the wooden steps will be limited in use. It’s better to use wider wooden planks for better structural integrity.
What Is the Standard Rise and Run of Wooden Steps?
Generally, rise doesn’t go over 8 inches and run doesn’t go for less than 9 inches. You need to make sure the rise and run balances each other out. Too much rise on your stairs will be dangerous for tripping and too short of run makes your wooden steps look jagged.
Final Words
This woodworking will pay off every moment of your efforts when you will see it in the place you wanted. This might be a good woodworking business idea. Make sure you take really good care of the stairs.
Hopefully, this guide will help you to build your standing wooden steps. If you can build the wooden steps, it will boost your confidence on further woodworking project.