As an Amazon Associate we earn from qualifying purchases.
You might face a situation where you need to make your knife and forging it. Forging a knife doesn’t require you to be a blacksmith. If you can somehow manage things that are necessary for forging a knife, you are good to go without anyone’s help.
To start forging a knife, all you need to do is to take a piece of high carbon steel and give shape to it and form it on an anvil after heating in a forge. In this article, we’re going to show you how to forge a knife providing step by step process and all the knife making tools you’ll need.
How to Forge a Knife
Before you start forging a knife, remember that safety is a must. You are about to deal with fire, iron, hammer sharp and high carbon steel. Therefore, do not underestimate the necessity of taking precautions.
Some of the safety gear you will need are: a pair of good quality gloves and eye wear to protect the eyes from flames and spark of fire.
Knife making tools you will need:
- Forge
- Anvil
- Hammer
- Fire tools
- Tongs or big pliers
- Hot cutter
- Quench tub (emergency first aid in case of burning)
- File
- Grinder
- Fuel for forging
- And decent quality steel of course
Before proceeding, once again I’m warning you to play safely with the hot metal and knife making tools. These can cause third-degree burns even before you can react. So, be very careful.
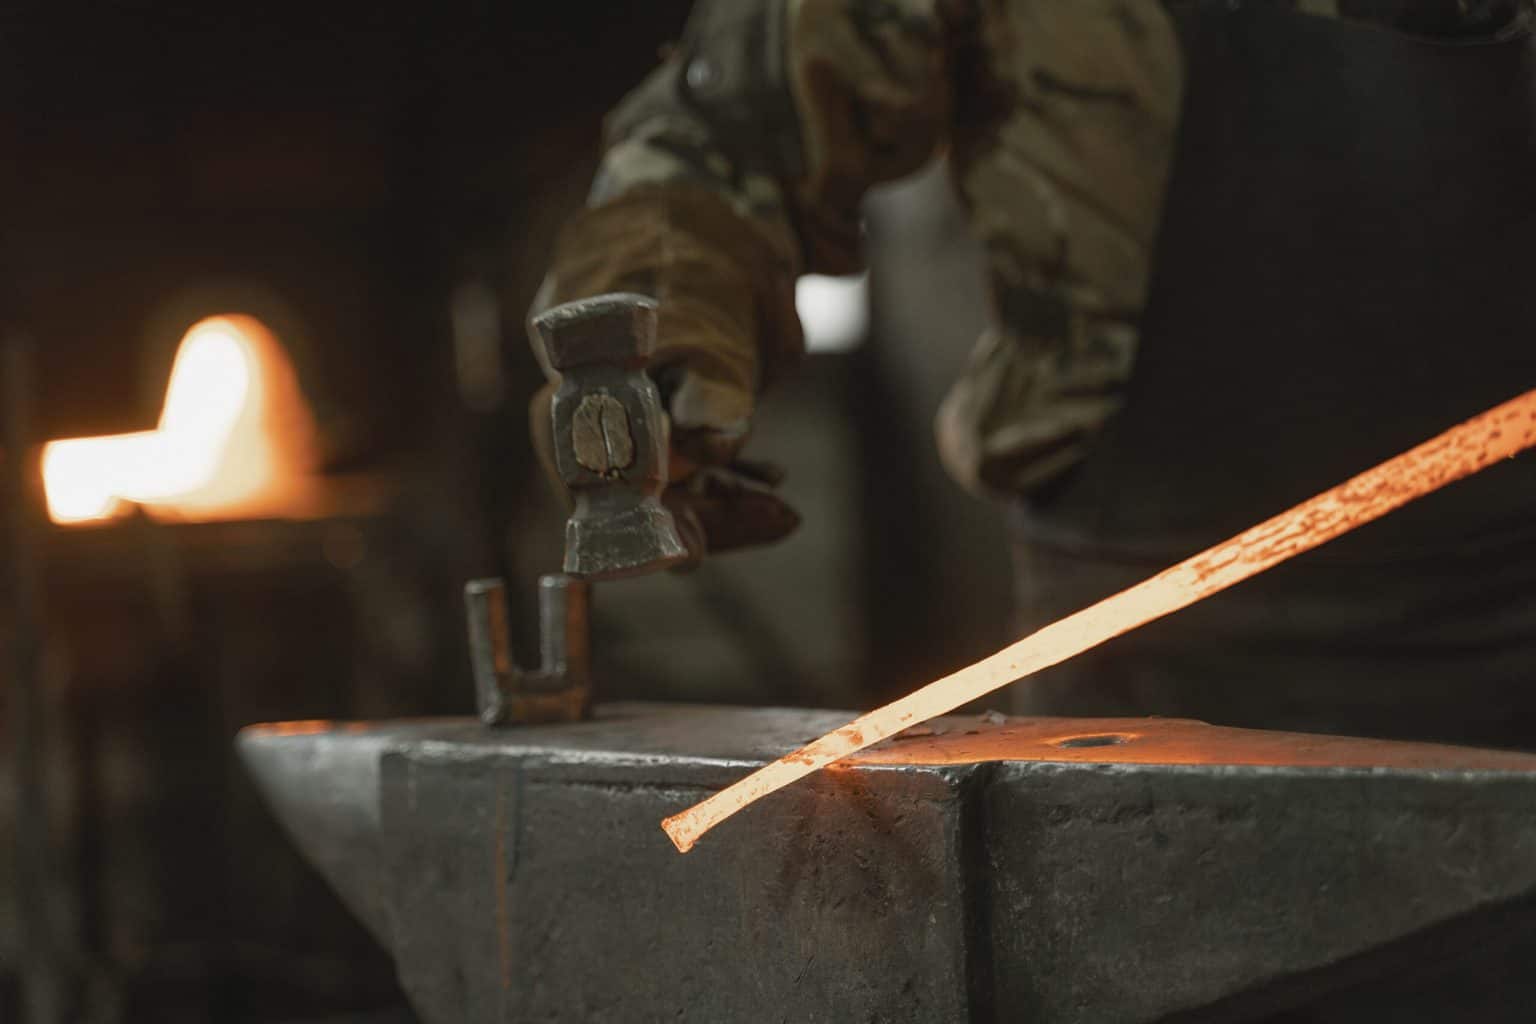
Step 1: Heat Your Steel Piece
Now, light the forge. Inside the forge, you will see a hot red/orange area. You need to put the steel in that particular area to heat it faster.
Since you are about to make a knife, you will need a piece of steel of course. If you manage a straight piece of steel, the initial things will be a lot easier for you.
However, if you have come with a spring piece of metal, first you need to make it straight. Put the metal inside the forge.
The heat inside the forge should be around 2200 °F. When it turns into orange or yellow color, take it out and put on an anvil.
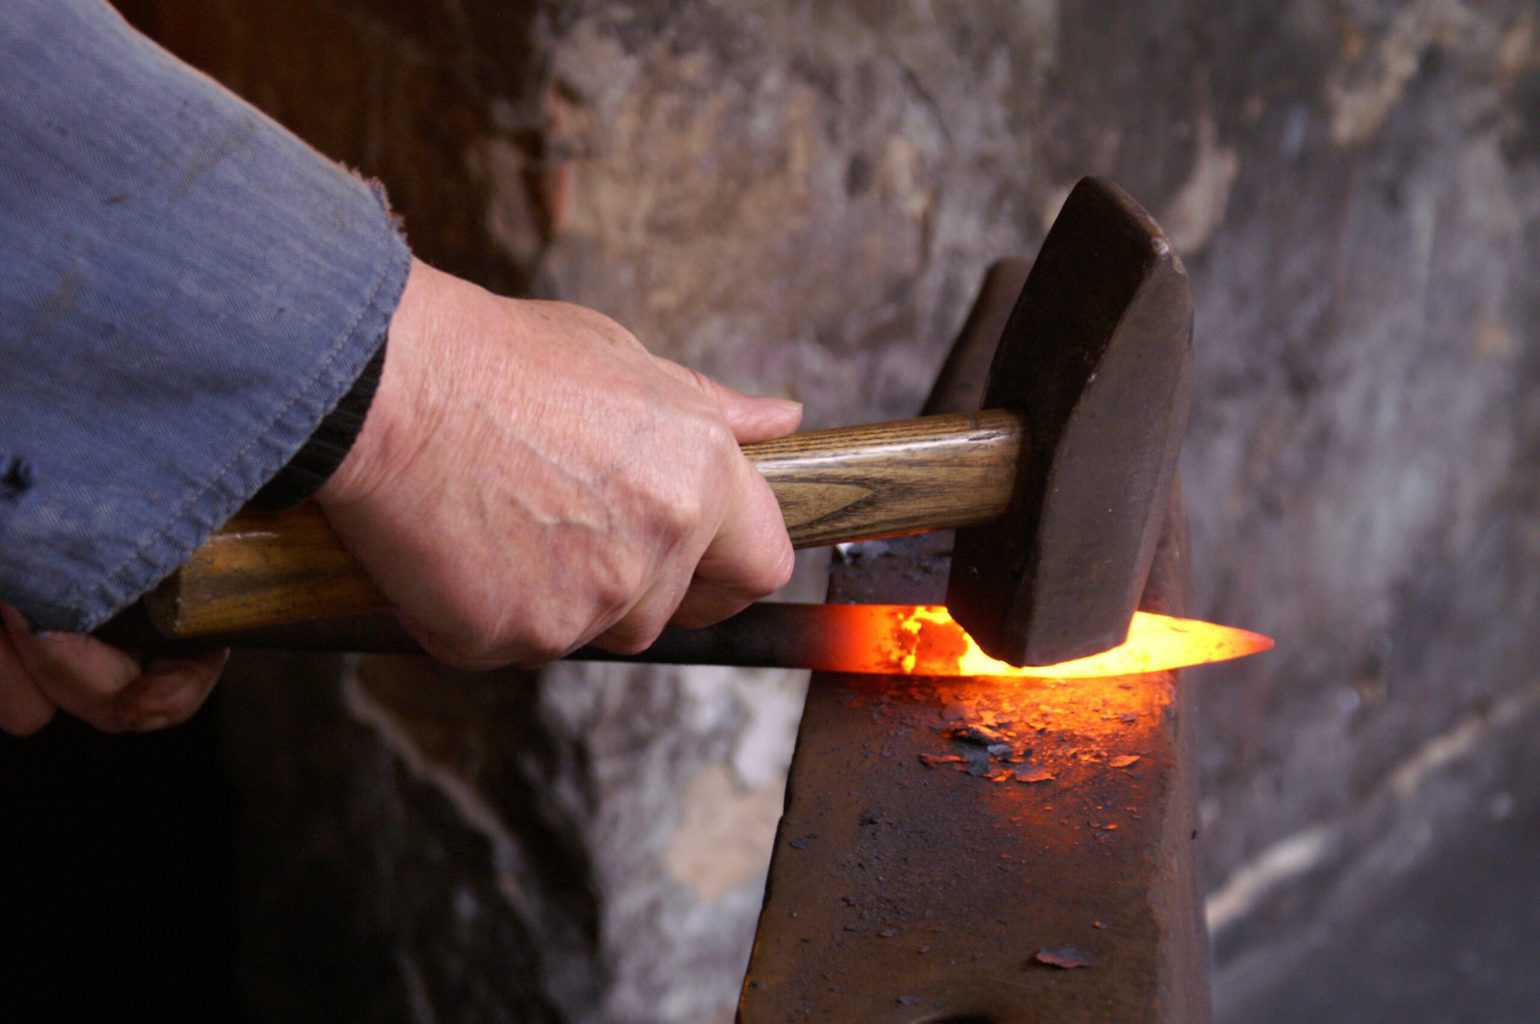
Step 2: Shape It Straight
When the metal is hot after step 1, you can shape it straight by hammering. If you see the metal turns to red or cools down, you need to put the metal back in the fire. Keep hammering the metal until you give the desired shape.
When you are done with giving shape to the metal, then the real game begins. Keep in mind that, this is a slow process and you can’t just finish off one part of the blade at once.
Step 3: Prepare the Handle
Don’t forget; you need to make a space about two to three inches or more for the handle. So, once you’re done with step 2, decide which part is for the knife and which part is for the handle.
You will need to start to forge a knife in such a way that the flat side of the metal will be the cutting edge and the curved side will be the spine.
Put the metal inside and bring it out when it’s ready for hammering, put the area of the handle on the anvil and hit in that area with a hammer by half on and off the anvil. When you establish the shape of the handle, it will start to look like a knife.
Step 4: Cut off the Extra Part
Now that you’re done with step 3, it’s time to cut off the extended part of the hot metal. You can let the hot metal cool down and cut it with a hacksaw or angle grinder. However, you can also cut it off by using the anvil and dent it.
Take a piece of flat and sharped spring and held it in the vice. Now, line up the border you want to cut and hit there with the hammer.
Hammer it part way through then rotate and then hammer it part way through again. Now, grab it with tongs and twist it until it breaks off.

Step 5: Harden and Shape the Knife
When you are done with step 4, focus on the blade. Hammer out the flat end of the hot metal for making bevels. Note that, it will cause the blade to bend on its spine.
Now for hardening the knife, you need to get the whole blade orange. You can test the knife whether it is ready to harden or not. Test the knife using a magnet.
If you find the blade becoming non-magnetic, it means the knife is ready to harden and you can quench it.
When the knife is rough enough, you can anneal it three times by bringing to the red-hot temperature and let it air cool till there is no reddish color. When you are finished heating for the third time, let it cool overnight close to the fire.
The more it gets cooler slowly, the more it will be easier to file. Now, file blade to shape it and any uneven spots. Quickly pass it on the grinder. Take only a second or two for doing the whole end.
Dip the metal in a mixture of oil and water. If you dip only the cutting edge, it will make a hard and durable sharp edge while leaving the back flexible.
It will also increase the overall durability of the metal. Carefully dip the steel vertically.
If other angles are dipped in the mixture, it will create bubbles around the metal, and you will have to reforge again.
Step 6: Temper and Finish
After step 5, it’s time for temper the steel. Put the steel in an oven at 250-350 degrees °F. Although it will take some of the hardness in the metal, it will put back some flexibility in.
Now, create a pointy tang and put a block of wood in the file to shape it. Or, you can customize the handle the way you want.
For the finishing touch, sharpen the blade with a whetstone followed by a fine file. You can use a leather strop to remove any burr and the metal or steel sharp.
Benefits of Forging a Knife
Like everything, forged knives have plenty of benefits. These benefits aren’t exactly common knowledge, so in an effort to clear up some doubts about forged knives, we would like to cover a few of those benefits.
When you forge a knife, it makes the steel stronger. The way the shape of the steel molecules change during the knive forging process will give you a knive that’s less flexible. While this might sound like a drawback when you forge a knife, this means that forged knives keep their sharp edge for longer.
On that note, forged knives are easy to sharpen, precisely because they’re not very flexible. A forged knife doesn’t twist while you’re try to sharpen it against a whetstone, so the whole process is easier and more effective than with a regular knife.
Conclusion
When you master forging a knife, you also learn forging any steel or metal thing. We must say, dealing with forge, hot steel and metal is a risky task to do. If you can make it to the end, without a doubt, you are not less than a professional blacksmith.
