As an Amazon Associate we earn from qualifying purchases.
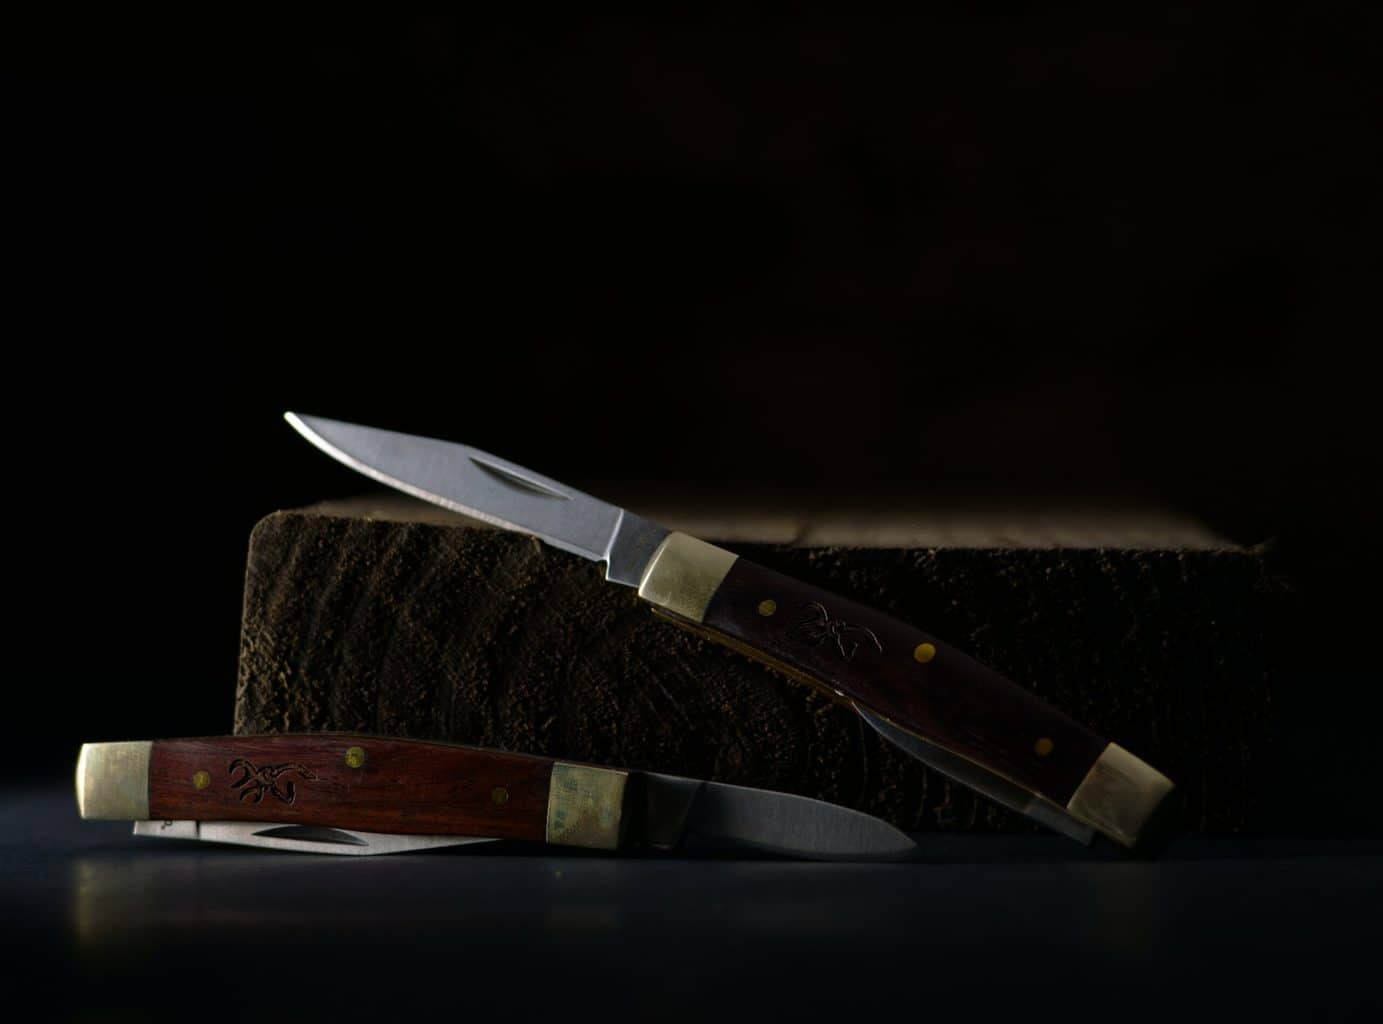
Looking to set up a knife-making shop at home? Then you need the right tools. That’s what we’re going to help you with today.
If you want to start a knife shop or simply make your own knives – then you’ll be glad to know that it is possible. You just need to find a knife making tools list and get every item on it.
So, do you want to know what these tools are? Then keep scrolling to find out!
Top 10 Essential Knife Making Tools List
1. Safety Gear
Do you know what happens when you grind steel? It creates a lot of dust and small metal particles. These particles fly through the air, sparkle away from the metal, and sometimes they go directly into your body.
And sure enough, you don’t want any of those particles entering your respiratory tract. You don’t want them to go into your mouth either. And of course, you want to keep them away from your eyes as well.
That’s where a nice set of safety gear enters into action. Here are some of these safety items to consider:
Forging Gloves
Forging gloves protect your hands from cuts and burns. These accidents do happen a lot in knife forging so make sure you keep your hands well-protected.
Choose forging gloves that have excellent protection from the heat coming from the metal of the heat-treating oven and the fire from the woodstove.
These are some qualities you should check when choosing forging gloves:
- Choose Kevlar gloves over gloves made from rawhide or cloth. Kevlar is better at adapting to moisture and heat which are two things that you’ll be consistently exposed to when forging your own knife.
- Make sure you pick forging gloves that are cut-resistant to protect them from sharp objects and making them harder to penetrate and potentially injure your hands.
- Pick forging gloves that fit snug on your hands. This is to ensure the forging gloves are comfortable in your hands. Too loose and it might compromise your safety.
- The most important thing and should be essential is that the forging gloves should be flame and heat-resistant. Even better, when the gloves are cool even when you’re working on the heat treating equipment.
Safety Goggles
Safety goggles are obviously needed to protect your eyes. This ensures no particles can penetrate your eyes and cause irritation. You will most likely encounter particles and sands flying when grinding and buffing so it’s important that you wear safety goggles.
- Make sure the goggles fit perfectly and don’t slide off easily on your head.
- For maximum protection choose goggles that have large lenses, side shields, and rubber foam lining underneath the eye area.
- Rubber linings around the eyes are also effective at keeping your goggles secured to your face.
If you can’t find safety goggles, another alternative for you to use is face shields. They provide even better protection when welding or heavy cutting provided you’re using the proper one.
Dust Mask
Dust is part of the process of knife making. You will naturally collect dust and breathing them in will damage your lungs. You will need a superior quality dust mask or respirator in order to keep your lungs safe.
We recommend getting an N-95 disposable mask. It’s great for beginners and filters out most airborne particles. You can upgrade your dust mask if you are exposing yourself longer to knife making.
N-95 masks have a short usage life so invest in a long-lasting dust mask if you are making knives for a long time.
Blacksmith Apron
A blacksmith apron protects you from hot fragments and sparks that could shoot over your body and cause a fire. The apron is also convenient for wiping off dirt and wiping your tools clean.
Look for aprons that don’t easily light up when exposed to hot sparks and fragments. The apron should also be comfortable for you to wear.
Ear Protection
The process of knife making involves heavy sounds. These sounds can potentially harm your hearing. You may not feel it early on, however, as you grow older, the effects will be clearly evident.
Make sure you are wearing either earplugs or earmuffs. Better yet, wear both of them together for enhanced ear protection. People usually wear earplugs for light work while earmuffs are a must for work that produces loud noises.
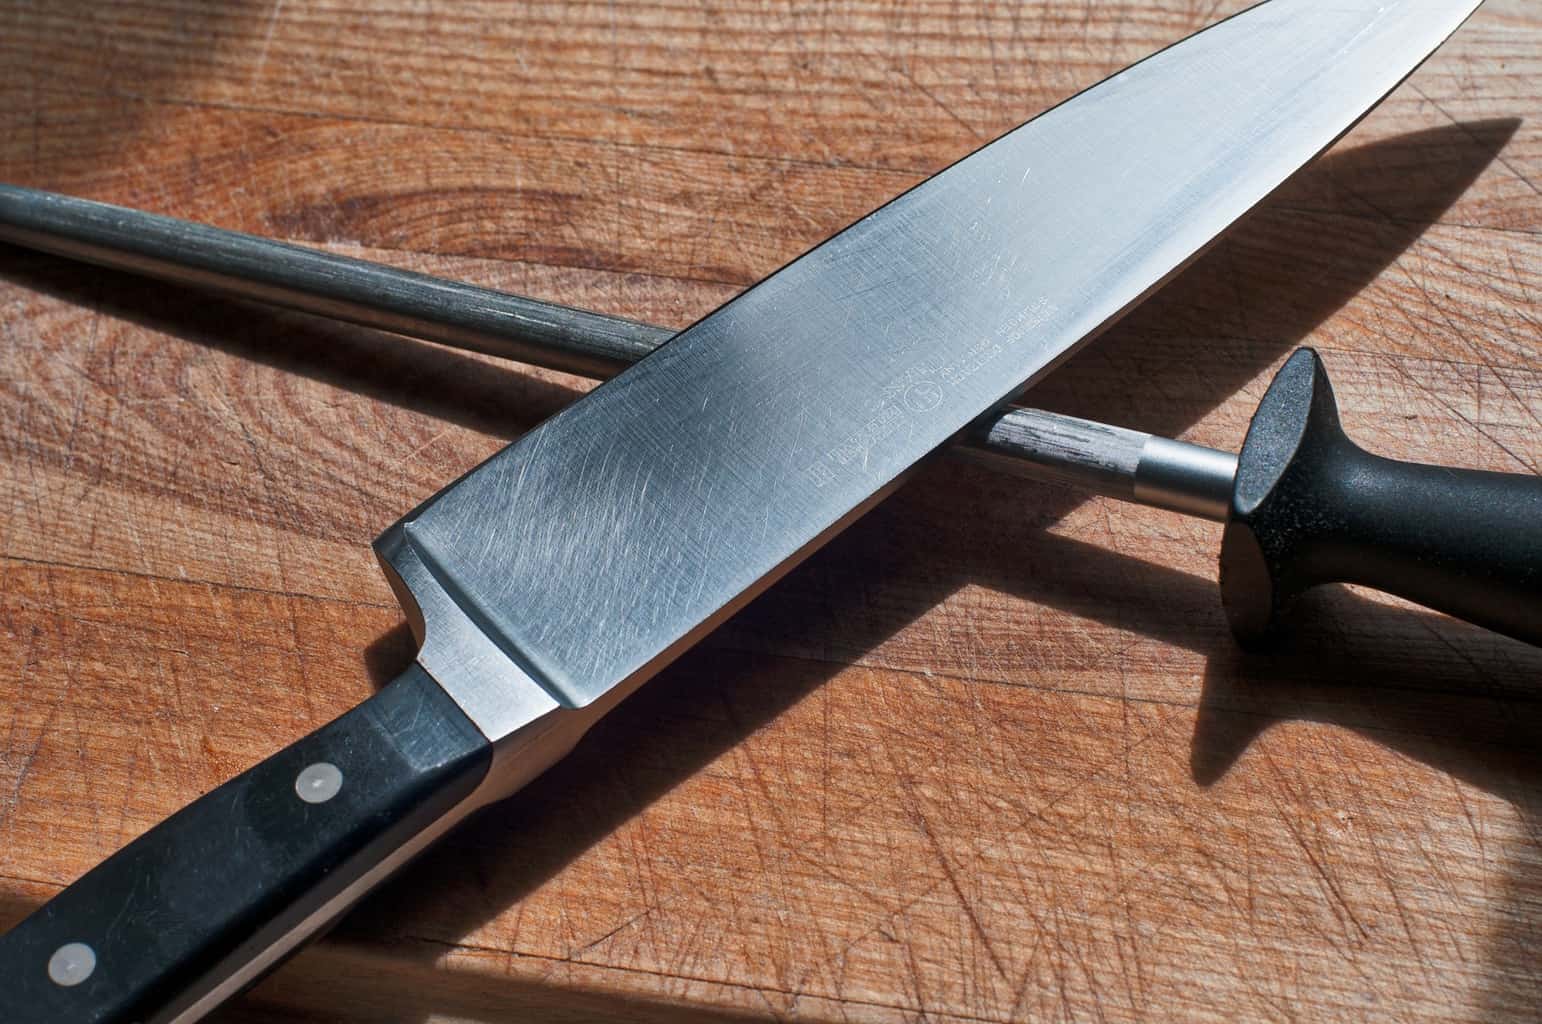
2. Sharpening Stone
Once you have the safety items ready, then you need to look for sharpening stones.
You will find several types of sharpening stones – such as:
- Water Stones
- Oil Stones
- Diamond Stones
- Ceramic Stones
They come with a wide array of grit levels, colors, shapes, and overall size.
We usually recommend diamond stones as the best ones to go for. They work super-fast, deliver exceptional sharpening results, and don’t wear out quickly. But they’re expensive.
A water stone, in contrast, wears out truly fast but also provides exceptional results. And an oil stone works slowly and is less practical, but way more affordable than the other two.
Then, consider the grit size as the second most vital factor for the sharpening stone. The lower the number, the coarser the stone is. If you can pick a coarse grit of about 350-800 and a fine one at 1000-4000 grit size – then that would be ideal.
Whatever you find suitable for your needs – that’s the stone to choose. But never miss one of these – it will be the only tool to give the edge to the knives that you’re looking for.
3. File
Similarly to a sharpening stone, the file helps to eat out metal to give shape, grind, smooth, or simply finish the steel. But this one is way more important because it works in almost every step of the knife-making process.
There are various types of files to choose from, though. Here are some of them:
- Flat file
- Square file
- Round file
- Half-round
- Triangular file
Then, you also need to select between single-cut and double-cut files.
The single-cut model is perfect for finishing, refining, and smoothening the metal with its single-teeth surface. With the double-cut file, you can remove more material, which helps to give shape to the steel thanks to the double-teeth design.
For the best experience, go for round or flat files – and pick one single-cut and a double-cut file. That will help you get most jobs done with ease.
4. Holding Tools
When you’re working with a knife, there’s probably nothing more important than grabbing it securely. And for that, you’ll want to use something apart from your hands.
This is where a bench vise and clamps enter into action.
Bench Vise
The best way to keep the knife secured and firm so you can work with it is by using a bench vise.
There are various types to choose from, though. Some will have a 360-degree base so you can swivel around when needed.
Others come with soft jaw-caps that grab the knife softly but firmly. And sure enough, don’t overlook the different sizes available – you may need a large one instead of a small one.
If you’re serious about building your own equipment for knife-making, then a bench vise will be your best bet.
Clamps
In case you don’t want to go too hard into knife-making – then you can always choose clamps instead of bench vises.
We recommend getting as many clamps as possible – about 3 pairs. They should be of different sizes so you can handle different types of knives accordingly.
As for the types of clamps you will find, here are some we recommend:
- C-Clamps
- Bar Clamps
- Pipe Clamps
- One-Handed Clamps
All these clamps are super affordable, and you can find them anywhere. You should pick the ones that best match your demands and comfort levels.
5. Hacksaw
Cutting steel is not easy, so you need something that makes it more bearable and possible without wasting too much time. That’s why a hacksaw is such an essential item to go for.
You can cut all kinds of steel with this one without putting yourself in danger or eventually wasting hours.
A hacksaw, however, also helps to shape steel in some cases. Making corners and/or getting rid of imperfections, a hacksaw will be the ideal tool for that.
6. Drill
Do you know what holds the knife to the handle? Easy – it is a set of pins. A few pins on the handle keep the knife together so you can use it for years to come.
But those pins won’t get inside the steel alone. You will need to open some holes in the metal and eventually insert the pins. Here’s where a drill comes into action.
There are various types to consider:
- Electric Drill Press
- Hand Drill
- Power Drill
An electric drill press is your best bet. It secures the metal on its body, opens the holes in seconds without much of an effort. And it does this with tons of precision.
Hand drills and power drills also work well. But they won’t be as secure and/or accurate. Yet, you will save a lot if you use one of these.
Make sure to get the ideal drill bits for the job as well. Remember, you’re cutting through metal, so it is essential to have metal-cutting bits.
7. Rotary Tool
Similarly to a file and a hacksaw at the same time – a rotary tool helps to cut, detail, finish, clean, and customize the metal. And when you’re making a knife, all these things are vital.
Here are two types of rotary tools to consider:
Dremel
You can do whatever you want with a Dremel from grinding the metal to cutting the steel and even customizing the edges and more. A Dremel may also help you get rid of rust and other signs of corrosion from the metal.
However, you will need to get abrasive cones and/or bits to make this happen. Yet, a Dremel is probably the most versatile and easy-to-use tool you can get for these processes.
While it is not necessarily a replacement for a file, hacksaw, or even sharpening stone – it will make your whole job a lot easier.
Angle Grinder
In case you only want something to grind the metal off, which a file, hacksaw, and sharpening stone won’t do with ease – then use an angle grinder.
This is a perfect tool to get the edge on the knife without having to make much of an effort or waste any time.
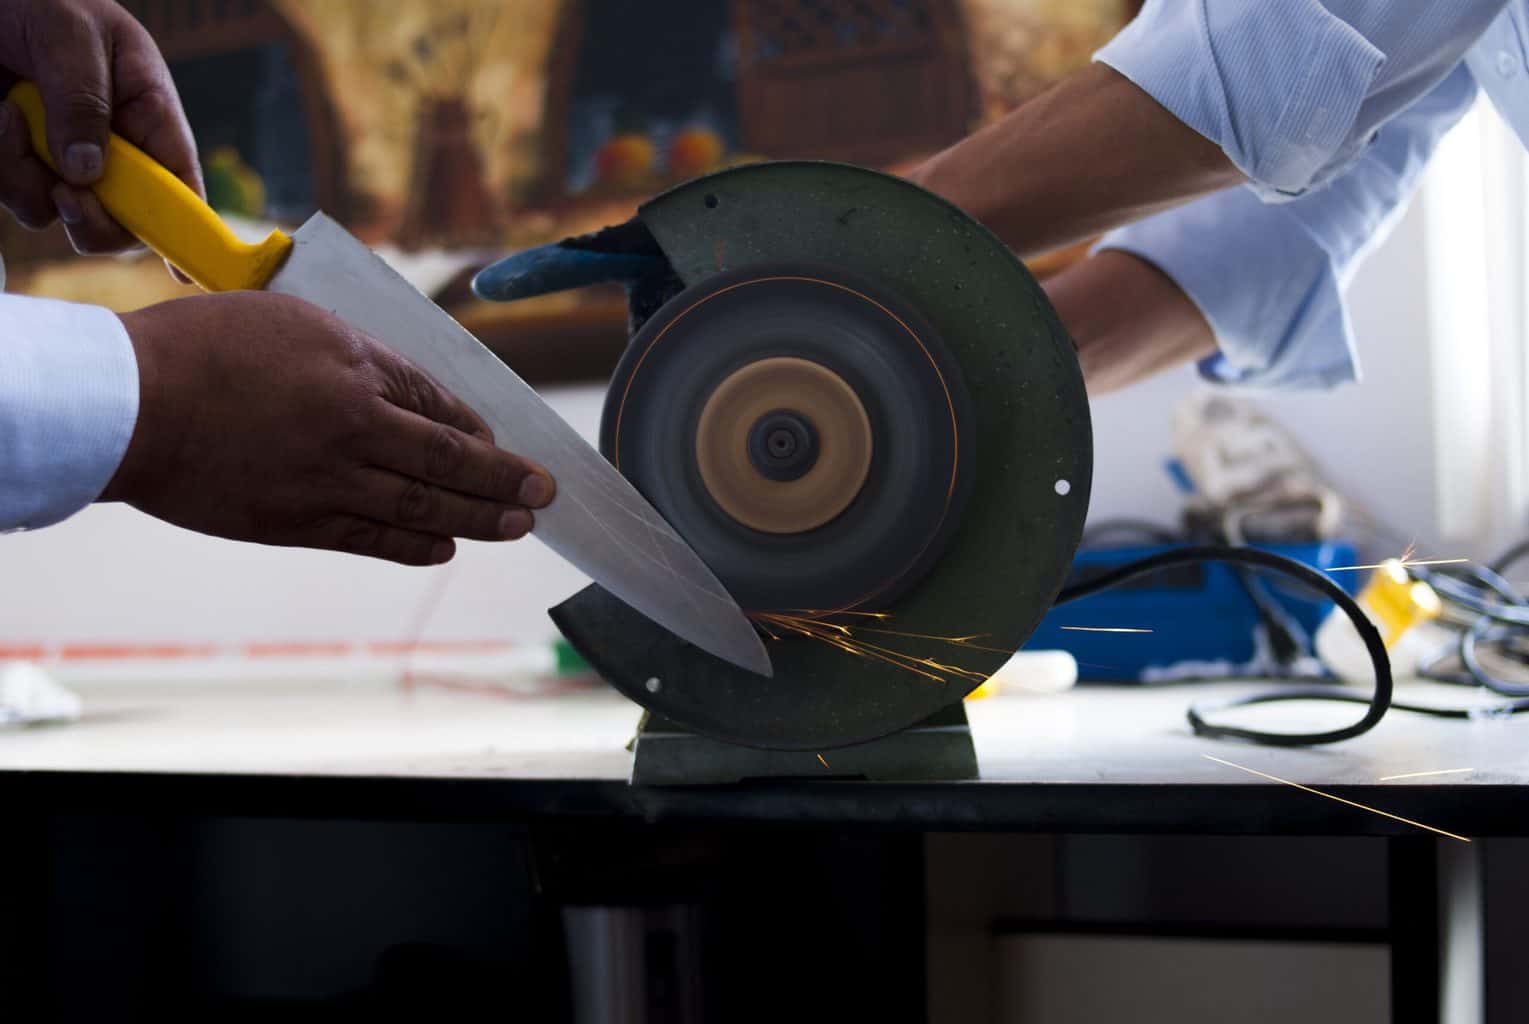
8. Abrasives
Smoothening out the steel of the knives you’re making is essential. And for that, there’s nothing better than an abrasive tool.
Here are two we recommend:
Sandpaper
A piece of sandpaper is probably the easiest thing to use and the most effective for smoothening. The sandpaper works for both the steel as well as the wooden handle.
There are various grit sizes to consider. For wood, going for a sandpaper grit of about 150 will be enough. But you may still go a little further with something up to 180 or even 200.
As for metal, you will need something at least 220 in total grit. For the best results, go for sandpaper with 320 grit size so you can smooth the metal wonderfully fast.
You can create the best knife edge with one of these. And also sand the wooden handle for maximum comfort when using. A piece of sandpaper can be essential just for that.
Belt Grinder
Grinding the metal is not easy – unless you’re using a belt grinder. You won’t have to make much of an effort with one of these, and it will get rid of metal imperfections and shape the knife like no other.
There are two types of belt grinders to pick:
- Regular belt grinder
- Industrial belt grinder
A regular grinder is perfect if you just want to make small or medium-sized knives. These grinders usually come with a belt of about 2-inches in width and 10 or 20 inches in length. That’s enough to grind your knives with ease and comfort.
As for industrial grinders, you will get about 4-inches in width or a little more, and up to 100-inches in total length – making the whole process way easier. If you’re making big knives, then this is your best bet.
But don’t consider their sizes only. You will also need to pick the ideal motor power and the overall set of features.
For that, make sure you get a powerful, fast, and practical model. The more convenient the belt grinder, the easier it will be to use, and the more effective it will be at grinding.
9. Steel-Cooking Tool
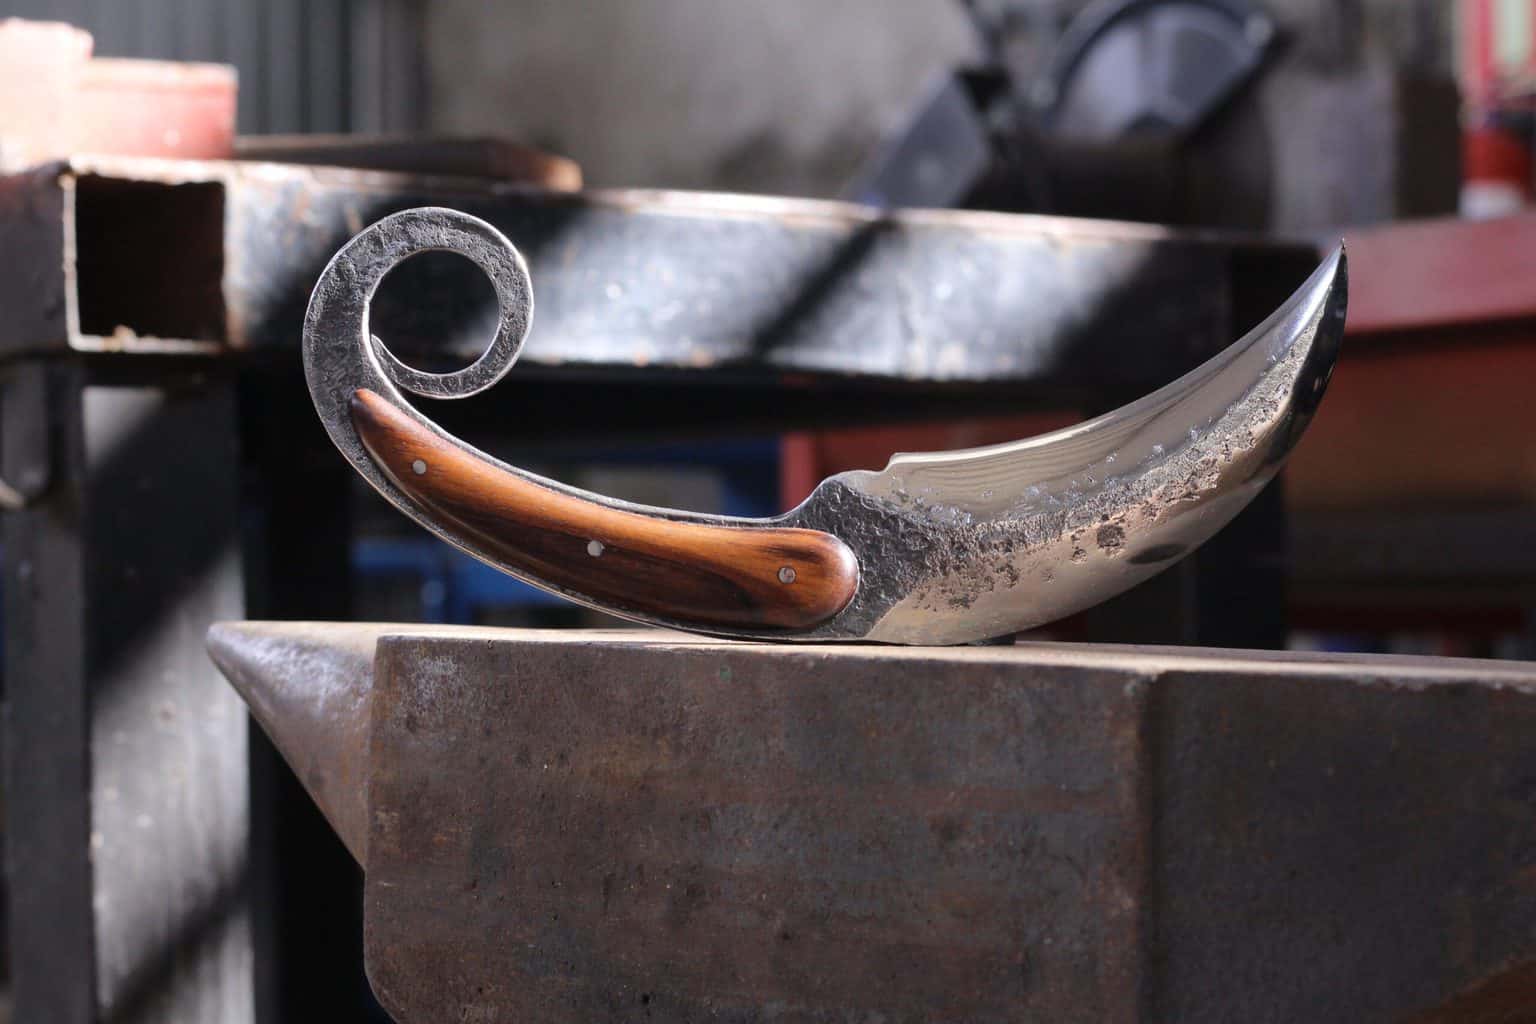
Last but not least, you need a steel-cooking tool. Or as most people know it – a forge, an oven, or a torch. This is the tool that helps treat the knife with heat, so it becomes more long-lasting and sturdy. Here are some of the options you’ll find:
Forge
This is a standard knife-making tool, and one of the oldest. A forge is where you place the blade you’re making for a few minutes. You need to hold it with a clamp or something similar.
The forge will help strengthen the knife and give it a more glossy finish overall. Yet, it is a little inconvenient to use.
Luckily, forges are super affordable and usually don’t require much set-up to work.
Heat-Treating Oven
Similarly to a forge, the oven treats the metal to make it stronger. But this one works differently.
A heat-treating oven will grab the knife, hold it firmly, and cover it in the heat, so it gets sturdier in the process. This will also give it a better finish and prevent it from wearing off too fast.
The advantage of a heat-treating oven is the temperature controls, the spacious barrel, and the ease of use.
Just place the knife you want to harden on the oven, set it up at the right temperature, and leave it for a few minutes to get treated. That will be enough to get your knife treated with an oven.
Torch
If a forge or a heat-treating oven seems like too much of a hassle, then you can always use a torch.
This is a little more affordable than the other two and way smaller. Yet, it is a little harder to use and doesn’t deliver the same results.
To use a torch correctly, you will need to keep the temperature as high as possible and maintain the flame on the blade. For that, you will need to clamp the knife firmly and then pass the torch over.
Torches don’t have a large flame, so you will need to be careful and keep everything covered while doing so.
Overall, though, it is way more affordable and takes less space in your garage. This tool is also helpful in making an anvil.
10. Designing Tools
It’s important that you have a shape or design to pattern your knife with. Else, you might end up making an irregularly shaped knife or with jagged edges. These are some tools we recommend you use for designing your knife:
- French curves – provides a guide for knife curves if you want to do it manually.
- Computer-aided Design (CAD) – if you know how to use the computer for drawing
- Ready-made templates or ready-to-use templates – probably the best option for you. It will also save you time for redesigning a knife again.
Conclusion
Want to start making knives at home? Then don’t overlook this knife-making tool list. Here’s everything you need to start the workshop you’re thinking of. Moreover, the knife is considered as one of the top essential items for tactical gear checklist, especially when staying safe in the wild.
You just need to pick the right alternatives for some of the tools, make them work precisely for your needs, and that will be enough.
Gear up your knife-making workshop now. You won’t find such a helpful list anywhere else.