As an Amazon Associate we earn from qualifying purchases.
Among the most exciting hobbies any person can start – there’s woodcarving high up as one of the best. But as attractive as it is – wood carving can also be pretty tricky.
So, if you’re a beginner who needs some wood carving tips & tricks, you’ll be happy to know that we have what you’re looking for.
Here, we’re going to teach you our favorite tricks for wood carving like an expert, even if you have low experience. You’ll learn everything from carving properly to getting the most out of your tools and being safe at all times while digging on wood.
If you want to become an expert at wood carving – then read this article further!
What Is Wood Carving?
To effectively teach you a few woodcarving tricks, we also need to go over the woodcarving concept.
In short, you could say that it refers to the activity of taking wood off logs with chisels or knives to create ornaments and decorations.
That would be a simple concept. But in fact, woodcarving is a lot more complicated than that.
Many factors come into play, from the type of wood you’re using to the kind of object you’re creating and more.
For example, using a few softwoods make the carving easier than when you use hardwoods. The same happens if you try to make something easy like a kitchen utensil, or when going for a wooden sculpture.
Overall, it is a super entertaining hobby that anyone can get into. It offers the chance to spend some time being creative while still creating things that can be both decorative and useful. Start your woodworking project now!
Wood Carving Tips for Beginners
1. Follow the Wood Grain
The first and most important trick of carving like an expert: always follow the grain.
You’ll see that different types of wood come with variable wood grain patterns. That’s super important to know and find out before you start carving.
This makes it easy to get rid of the wood no matter the carving method you’re using. But it also allows you to prevent any unwanted damage to the wood, like cutting more than necessary or breaking the wood.
2. Sketch the Carving
Before you start an academic project, you usually begin with a draft – right? You make a small plan beforehand and come up with ideas that may or may not work before getting the project on wheels. This helps to save time, effort, and prevent mistakes.
When it comes to carving, the same applies. You’ll achieve more precision, better appearance, and more control.
Having a sketch of what you want to make will give you a better idea of how to proceed. And that will save you from making mistakes (if you make a bad cut, there’s no way to come back when carving).
3. Figure Out the Best Wood for the Project
Just like sketching, knowing which wood will be better for the project you want to start will save you tons of time and effort.
If you’re doing some chip carving, pick something hard like white oak. But if you’re thinking of making a figurine by whittling the wood away, then use butternut.
Do not intend to use the wrong tool and carving method on a piece of wood that won’t handle the job well. This will waste a lot of your time and effort.
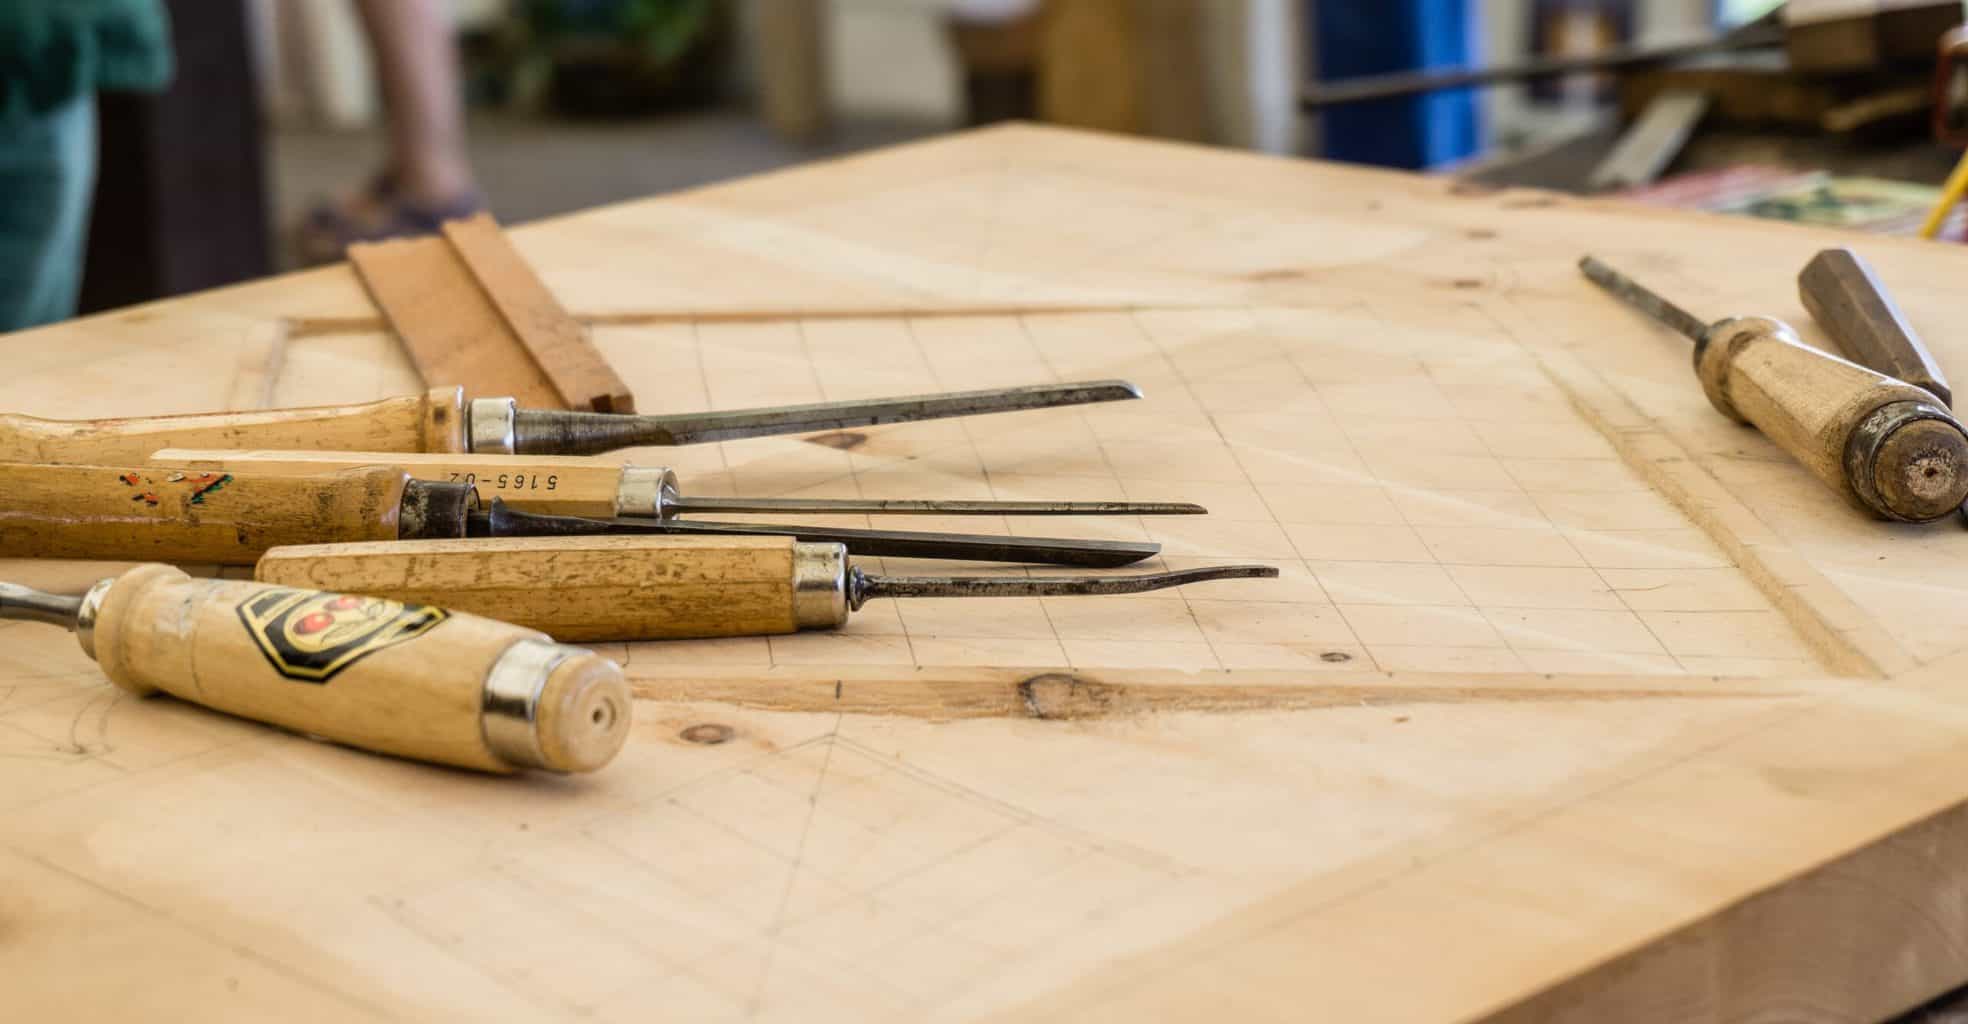
4. Learn about Gouges
Before you start any job, you need to learn about the gouges. We’re not referring to the gouge tool, but the size and shape of the blade in chisels.
The curvature, for example, tends to vary exponentially, depending on the chisel. Some allow a nearly straight cut when using, and others have a wider size but with tons of curvature.
If you want to have maximum versatility when carving, we recommend getting a chisel set with as many shapes and sizes as possible. This will make it easy for you to start new projects.

5. Sharpen Those Tools
It doesn’t matter the size or shape of the chisel/knife you’re using – it needs to be sharp at all times.
Even if you’re using a power tool like a burr or grinder – you need to make sure that the blade/tip is sharp. Otherwise, you won’t get the polished or precise results you’re looking for.
The best way to do this is to get a sharpener for knives and chisels. And always have replacement blades and bits for your power tools. That will prevent you from using a dull tool that could damage your work.
6. Never Lose Sight of the Edge
No matter what carving method you’re following or what tool you’re using – it is essential always to have the edge on sight.
This is not only about where the edge is, but where it is going. If you aim the blade of a chisel towards a leg or hand, for example, you may end up harming yourself. The same happens if you’re pointing towards another part of the piece you’re working on – which could lead to a messy mistake.
That’s why having the edge on sight and calculating correctly before making a cut is so important. You’ll end up a better carver with way better results.
7. Hold Tools Properly
Are you using a power tool that you barely know how to turn on? Well, make sure you also know how to hold it properly – it will make the whole carving process safer.
It doesn’t matter if we’re talking about a power carver or a burr – you need to have a secure grip and be sure of what you’re doing. Otherwise, you may end up damaging the piece you’re carving or even yourself.
The same happens if you’re using small tools or hand tools like knives and chisels. You should focus on having a coordinated hand/tool movement, so you can cut precisely and without mistakes.
8. Use Gloves
If you want to prevent accidents and have an even better grip of tools and the piece you’re working with – then use gloves.
A nice set of safety or woodworking gloves will be enough. Sometimes you don’t even need to use two gloves – just one to grab the piece of wood will be sufficient to prevent accidents and have maximum grip.
You may also change the type of glove depending on what you want to focus on. If you’re primarily focused on keeping yourself safe from cuts, then use Kevlar or steel-woven gloves. But if you only want proper grip, then choose leather gloves instead. Choose accordingly, and you’ll have a far better carving experience.
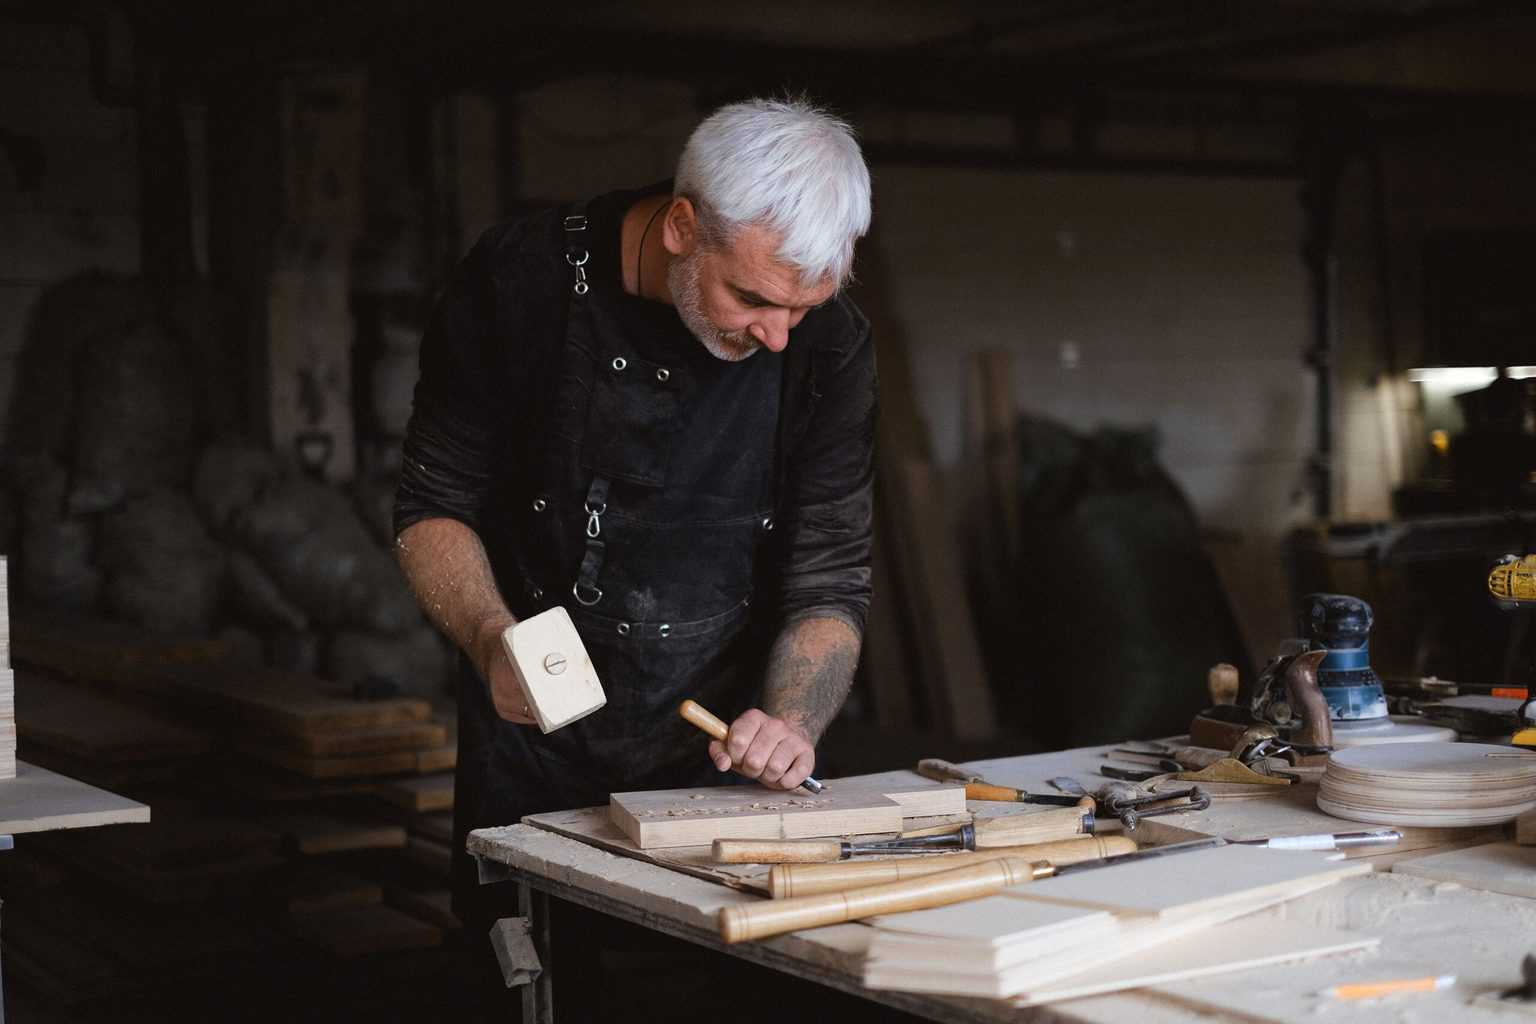
9. Don’t Be Afraid to Use the Mallet
There’s probably nothing more effective for taking large chunks from wood than using a mallet with a gouge or chisel. But using this mallet/hammer is usually not easy.
Especially when you’re carving on hardwoods like oak and cherry, you should not be afraid of using the mallet. This will get the most wood out of the piece and help you carve whatever you’re creating faster.
At the same time, don’t forget about chip carving if you’re working on softwoods. Even if it can be a little dangerous and may become messy in a second, you can always use this method if needed. You just need to be extra careful, and you may end up with an even more precise and controlled cut than with knives.
10. Use a Power Tool If Needed
Don’t be scared of the power tools, either. It doesn’t matter if we’re talking about a rotary tool, grinder, carver, or even a woodturner – they will all help you carve faster and more effectively.
Whether you want to drive large chunks of wood out or simply give a more detailed appearance to your carvings – tools will not let you down. That’s why we recommend them in their totality.
But at the same time, it is super important that you’re aware of the danger they may offer. Before getting to use any power tool – learn how to carve correctly manually. Then, you can use one of these without problems.
Types of Tools for Carving
After learning more about the different types of carving you can do, it is time to learn about the tools you’ll be using. Here are the most common ones:
Carving Knife
A carving knife is probably the most common tool you’ll find out there. It is also the easiest to use.
To carve wood with a knife, you just need to scratch the surface of the wood lightly and get rid of some wood in the process. But of course, it all depends on the type of carving you’re doing, and what exact procedure you’re following.
Overall, carving knives come in different shapes and sizes according to their use. Mostly, carving knives are used for whittling and direct cutting.
Bench Knives
Whenever you need to trace around the wood pattern to get rid of inconsistencies, you should use a bench knife.
They are also perfect for scoring and for getting intricate patterns done. To use it, you follow the same process as an ordinary carving knife – but with a slightly more delicate trace.
These also come in different designs and sizes. Some bench knives also help in detailing the pieces, which makes them small and precise.
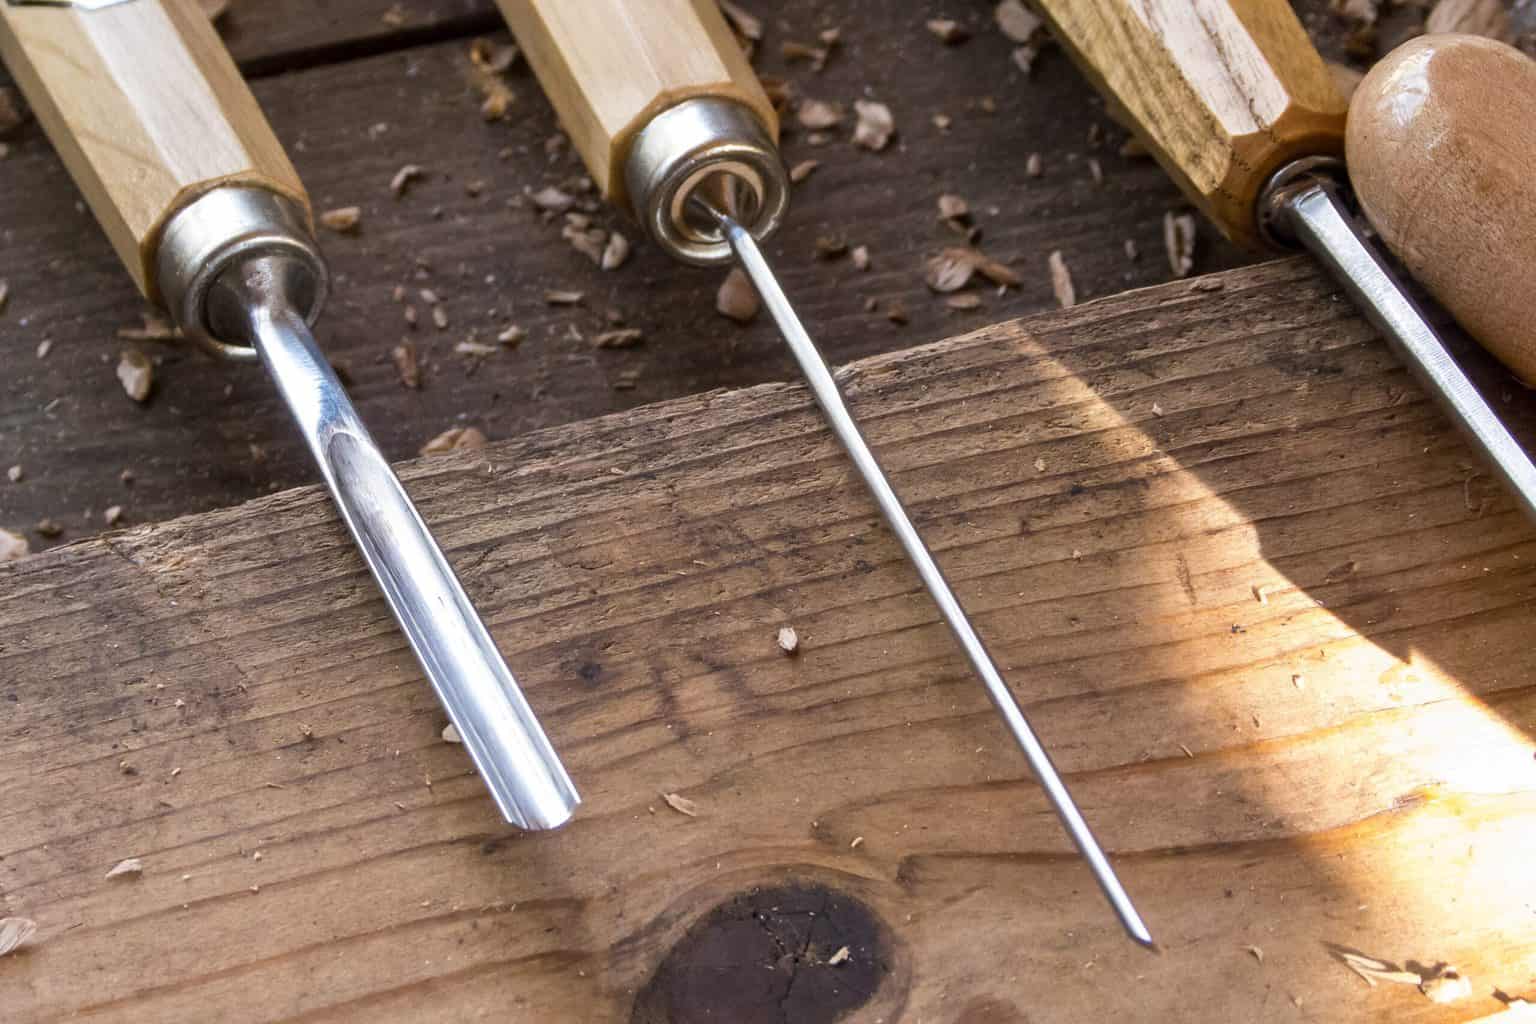
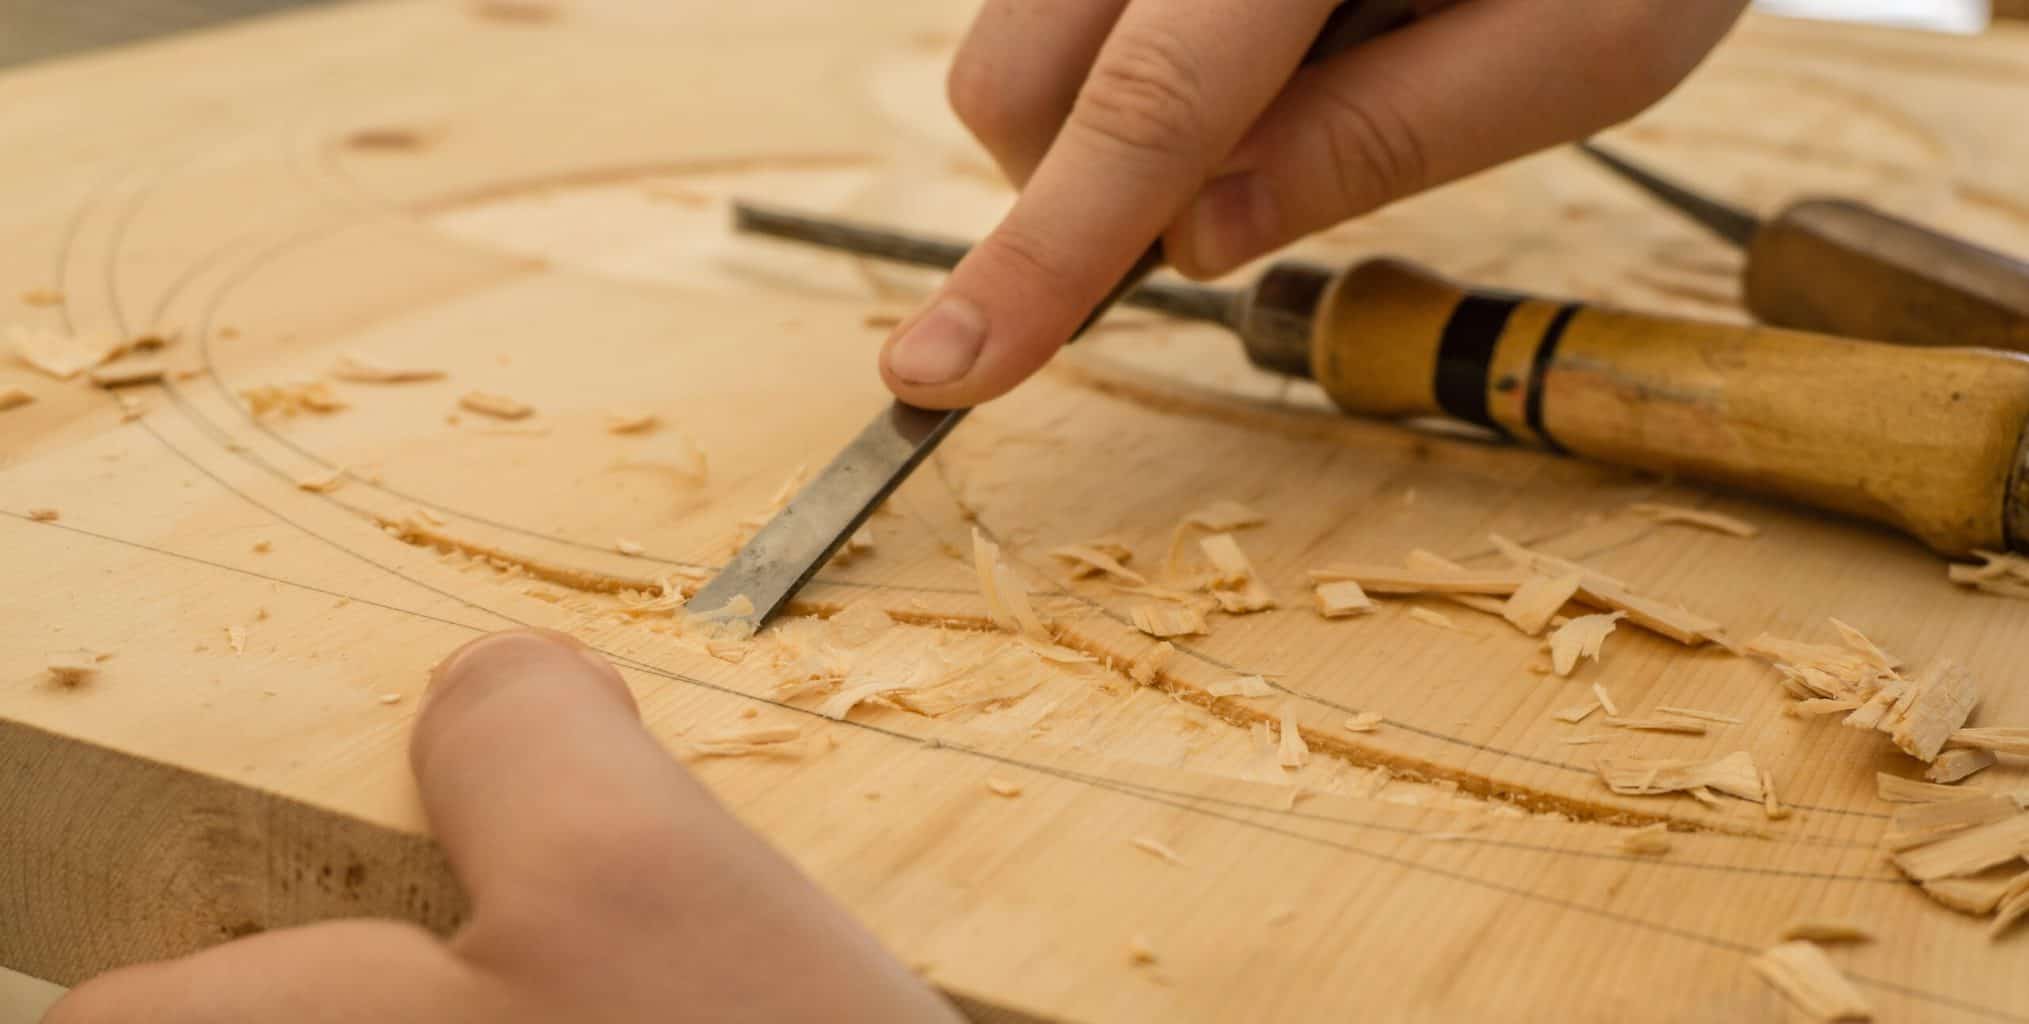
Chisel
If you’ve ever seen someone carve on a piece of wood, you probably know what a chisel is.
In short words, it is a piece of metal that cuts when you hit it with a hammer. It consists of a cutting edge, usually sharp enough to cut big pieces of wood with every hammer hit. This offers the chance to get rid of a lot of wood and provides deep cuts without making much of an effort.
Sure enough, chisels differ a lot, depending on their specific use. Some are ideal for carving small pieces, and others are larger and wider, perfect for cutting wood with precision.
Overall, chisels tend to be challenging to use at first. Yet, they help to work on most types of carving – going from relief carving to chip carving, and even carving in the round.
Gouge
Similar to a chisel, the gouge needs to be hit with a hammer to work correctly. Yet, this one has a slightly different shape than other types of chisels.
The concave blade of the gouge allows the carver to go deep into the wood. It also allows easy curve-making and ensures rounded cuts when going deep into the wood.
You can guess it is not the easiest tool to use for carving. But it is an essential tool, nonetheless.
This is the ideal tool for carving in the round and relief carving. It ensures extra detail and perfect holes all around.
Rotary Tool
Probably the most practical power tool you can get for carving – a rotary tool. You can do anything from polishing to cutting, grinding, sanding, and even carving without making much of an effort with one of these.
The advantage comes mainly from the ability to work with a wide array of burrs or discs. You can set a cutting disc and get rid of big pieces of wood. But you may also use it with a small burr for detailing and doing some relief carving if needed.
There’s simply no limit to what a rotary tool can offer, so it is also an essential tool to have once you gain enough experience.
Conclusion
So, are you ready to start wood carving? If yes, then don’t waste more of your time and put our wood carving tips and tricks into play.
Follow this guide as it is, and you will learn how to carve wood like an expert in no time. Just remember to be safe at all times and work according to your experience level. Then, you will have the chance to make exceptional wood art and even make this a business yourself!
Start now and become a carving master!