As an Amazon Associate we earn from qualifying purchases.
Are you planning to buy an anvil for your early stage of blacksmithing? Why don’t you make one? Learn how to make an anvil as an introductory project for early blacksmithing.
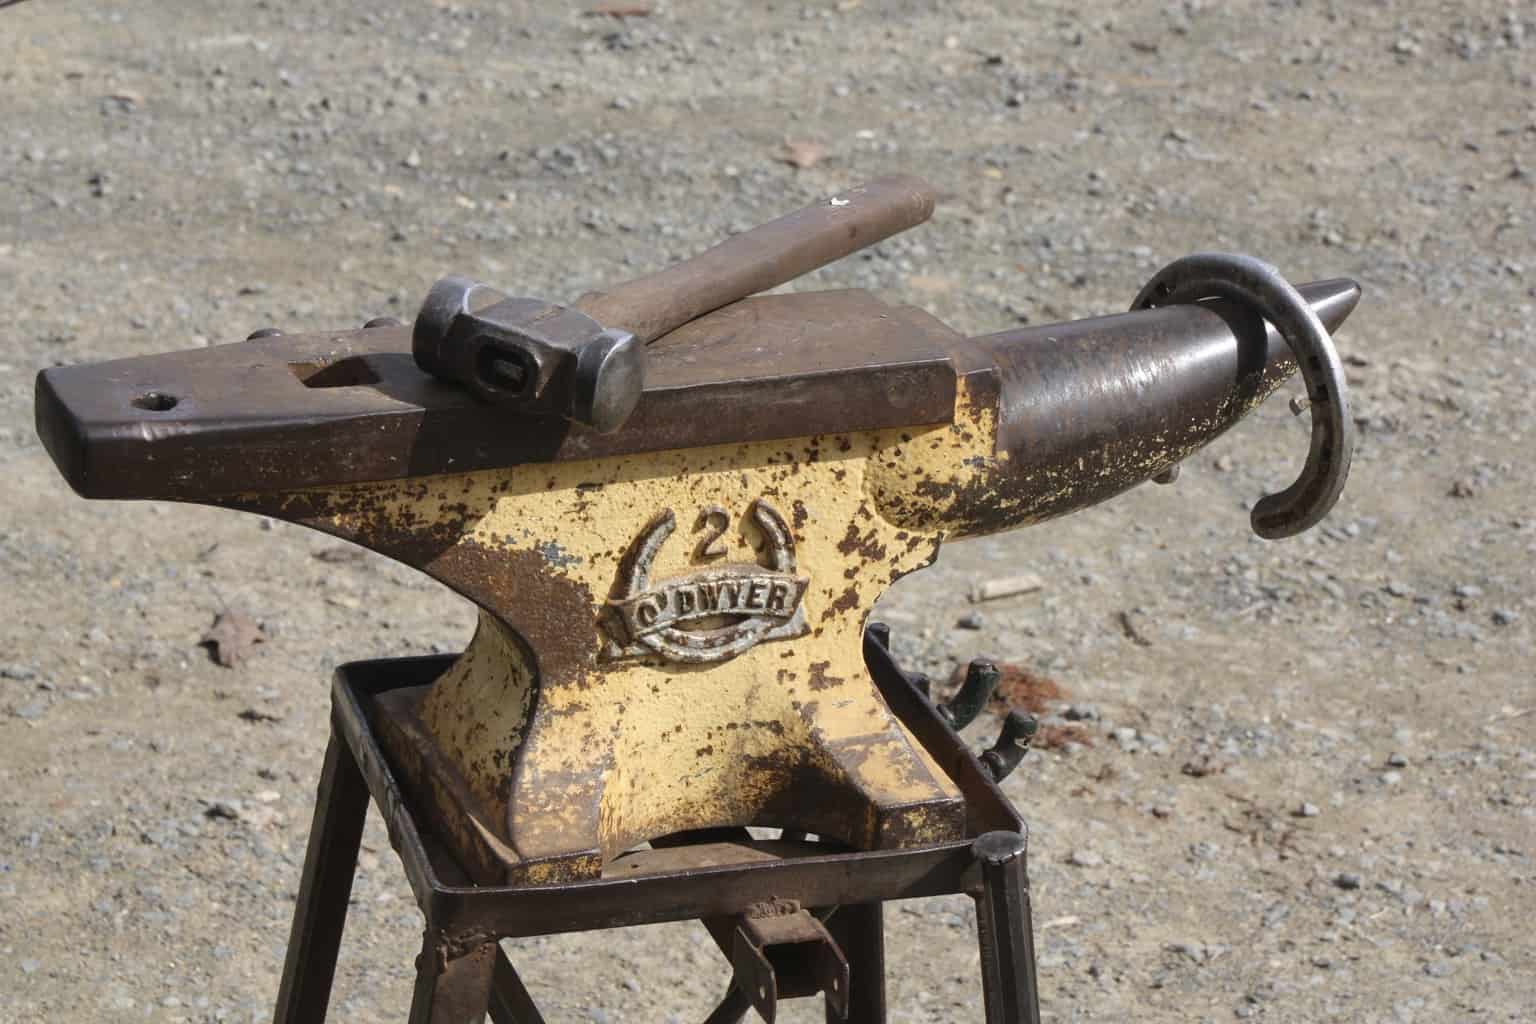
How to Make An Anvil Using Railroad Tracks
Things you will need to make an anvil:
- A railroad track section of 18-inch
- Truck leaf spring of 18-inches
- Torch
- Tongs
- Crowbar
- Clamps
- Gloves
- Water and hose
- Drill machine
- Bolts and nuts

First Steps
- First, you need to cut and give proper shape to the railroad track. It doesn’t have to look exactly like a real anvil. If you can manage to give a rough shape of an anvil to the railroad track, it would be fine.
- The surface of railroad tracks is not flat. So, you need to flat the surface now. A truck leaf spring can help you in this regard.
- Remove tempeh from the steel and make it flat. Let it stay that way for a few minutes. This process is known as annealing.
Heating and Welding
- Now put the metal in a forge to heat it. When the color turns red-hot, then carefully take pick it with tongs and bury the red-hot beauty in the pile of ashes. The molecules of steel will be stress-free, and it will be easily bendable and not spring back.
- When the spring section is cool to handle, then weld the square and the other horn like the end. You need to make the width of triangular horn same as the rest of the metal.
- Here it needs to be weld solidly as the track is curved. The top of the track should be lower than the rest of the spring.
- Use clamps to flat the spring section of the track. Spot where it was weld in several places and remove clamps then weld two pieces together. It will take a lot of heat as well as a few rods.
- When you are finished with welding, now spring section needs to be cut off about 4” away from the horn (the rear end of the track). A real anvil includes two hole in it – a hardy hole which is the square one and the round one known as pritchel hole. Drill the pritchel hole of about 5/16”.

Final Steps
- Now fill a large metal trash can with water all the way full and make sure there is a hose nearby.
- Prepare a pile of leaves, sticks, twigs and larger wooden pieces near the trash can. Now, light it and place the new anvil in it. Leave it there for half an hour.
- Wear hand gloves and with large tongs or a crowbar, lift your anvil off the fire and immerse in the water. And stay away from the trash can.
- As soon as you immerse the anvil in the water, the water will immediately start to boil. Keep adding more water by a hose especially when the boiling is over.
- When the anvil is cool, it will reintroduce the stress inside the steel. This time, the anvil’s face will be hard and flat.
Maintenance of Your Anvil
If you want to use your new anvil for a long time, you will need to take care of it in a proper manner. Follow our top tips for its maintenance –
- You should never hit to the upper surface of an anvil with a hammer directly.
- Always use hammers that are comparatively softer than the upper surface of your anvil.
- You will need to be extra careful about your anvil in cold sessions. During winter, anvils are more vulnerable to breakage after getting hits. Before using it in cold weather, take a large piece of steel and heat it and place it on the upper surface of the anvil.
- Avoid hitting on small ends and fine tips of horns with heavy hammers, as these areas are more vulnerable to bending or breaking.
- The weakest part of your anvil is its edges. Whenever you use the anvil, it will develop the risk of being damaged from the edges. Therefore, do everything you need to protect the edges.
- Water or dampness are the major enemies of your anvil. These two elements rust the anvils. Use Wax or WD40 or similar solution to keep the surface rust free and smooth. Don’t store items on your anvil. When you’re done with any work, make sure you clean it.
- Anvils that have a smooth upper surface gets marred by bolsters. And if they don’t have the smooth upper surface, they can be bolsters by a hardy tool. This thing doesn’t happen with comparatively soft anvils.
- When steel hits a cold anvil face, it will make damages such as pounded down edges, sway backs, nick, etc.
Final Words
Now that you can make an anvil, you will be able to pursue your craft and blade smithing work maybe with the help of your garage tools or hand tools.